
New kit goodness!

Box opening!

I didn't build the kit per the order in the instructions and started with the center slipper.

Center slipper completed!

I assembled the chassis next

Center diff and braces installed

Steering bell-crank installed

Front suspension installed

The front bumper is a little lower than the front edge of the chassis! This should help keep the chassis tape from wearing out and lifting in the front!

I assembled the front axles next

Front axles assembled

Front hubs installed on suspension arms

Rear suspension installed

Rear hubs and axles installed

The D-block doesn't hang below the chassis! Thus the D-block shouldn't wear out so fast like on my EB410.

I worked on installing the servo next

Protek 160T servo attached to the floating mount

Servo and battery mount installed
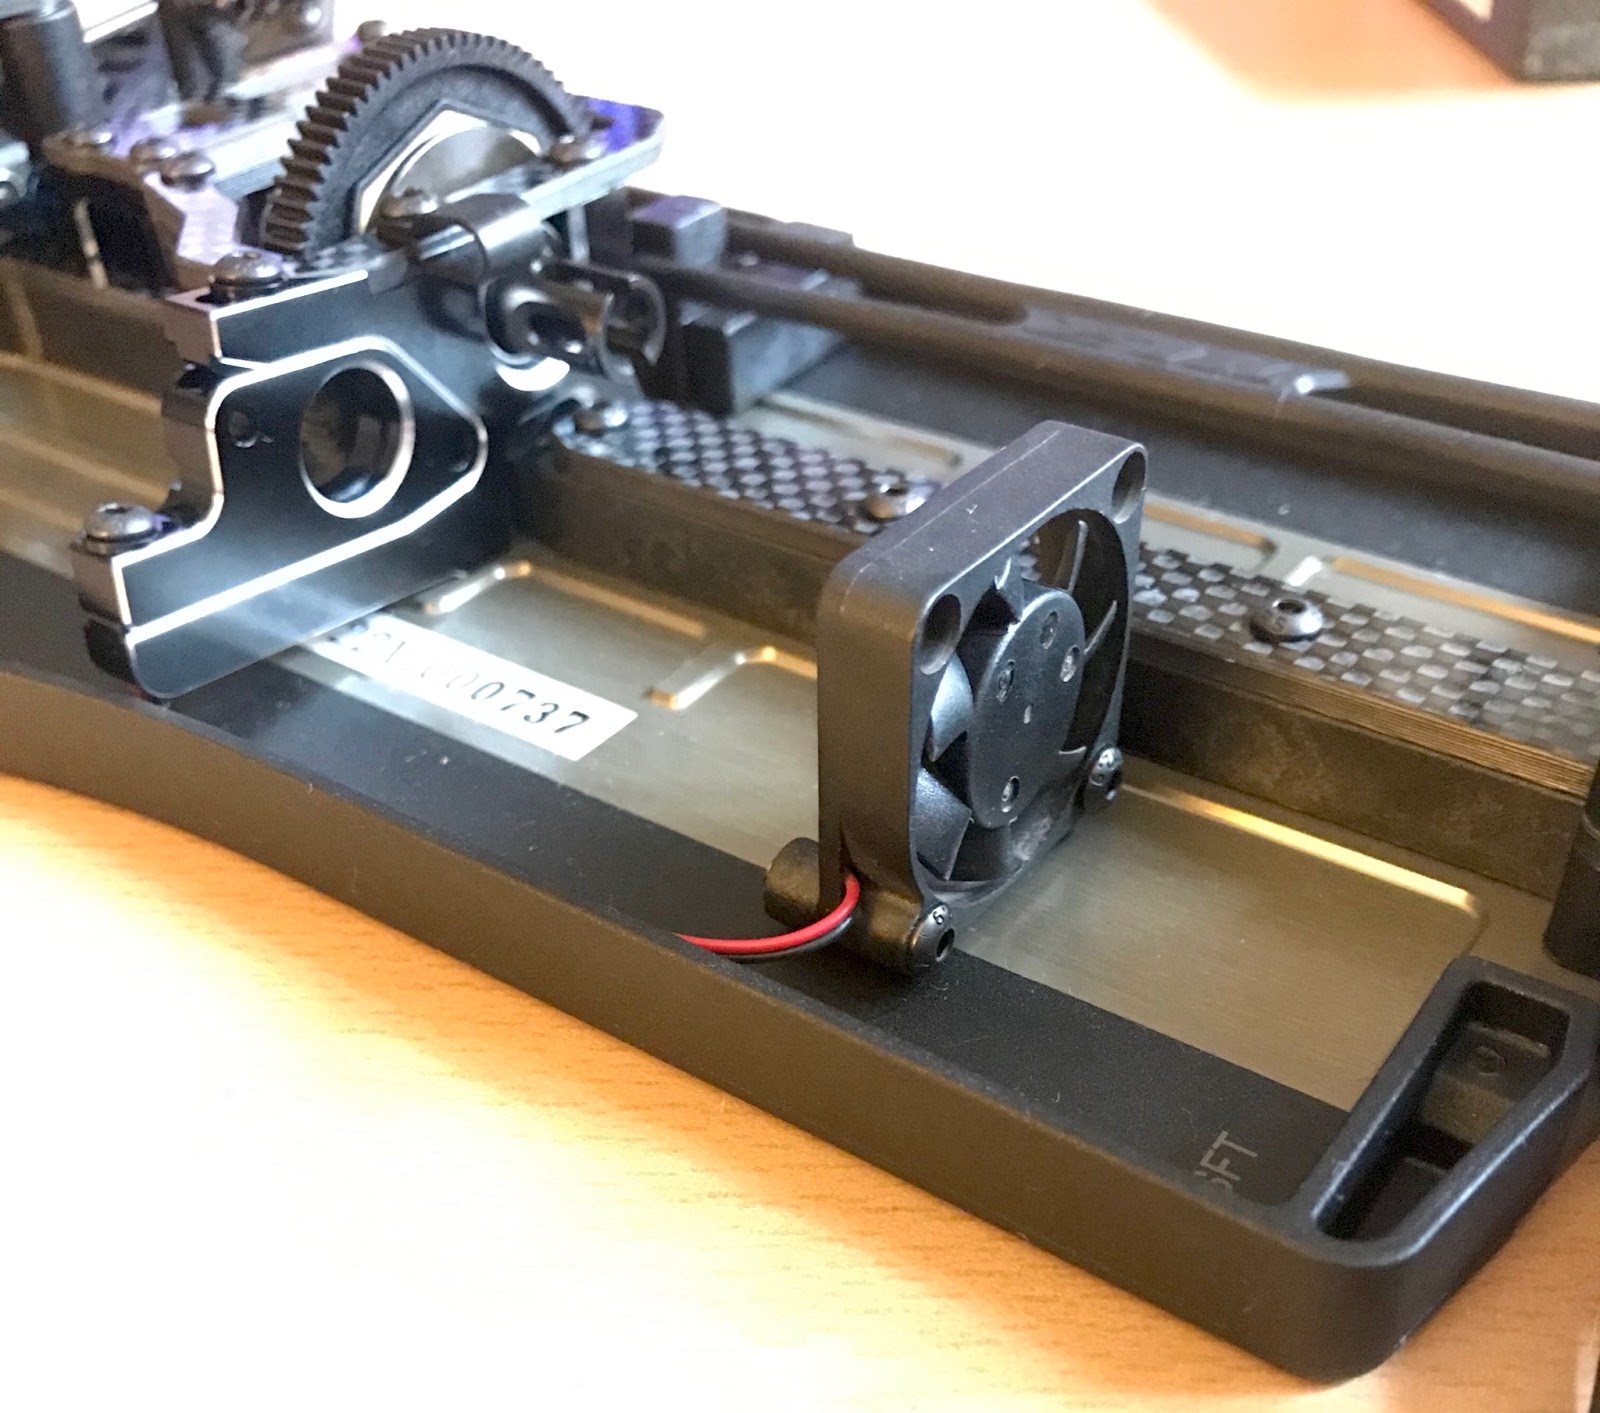
Fan installed. All kits should include a motor fan mount!

G3 shock parts laid out for assembly

Shocks ready for oil

Bubbles rising to the top

Chassis ready for electronics


